Printers
When it was written, the original Art1 computer art program's output device used by Frederick Hammersley was an IBM-1403 chain printer. (I'm uncertain what printers were at the University of Minnesota, where Art1 was adapted to run on a Control Data Corporation 6500). When I got Art1 back up and running in 2020, I altered it to create images on the Olivetti teleprinter and character overstrike images on laser printers. After this, I began exploring the use of impact printers with wide-format paper carriages to recreate original Art1 pieces and generate new ones. I've focused on daisy wheel printers for their metal (plastic) type.
Coaxing older printers to run again is a way of rediscovering the lost materiality of computing. Printing code and text is a different window in to the computational world than we experience on our flat screens. Even today, you can source the same 14 and 7/8ths inch wide tractor feed greenbar paper that defined an entire generation of computing, but is now distant from the muffled whine and shuffle of a laser printer or silent glow of a dark mode IDE.
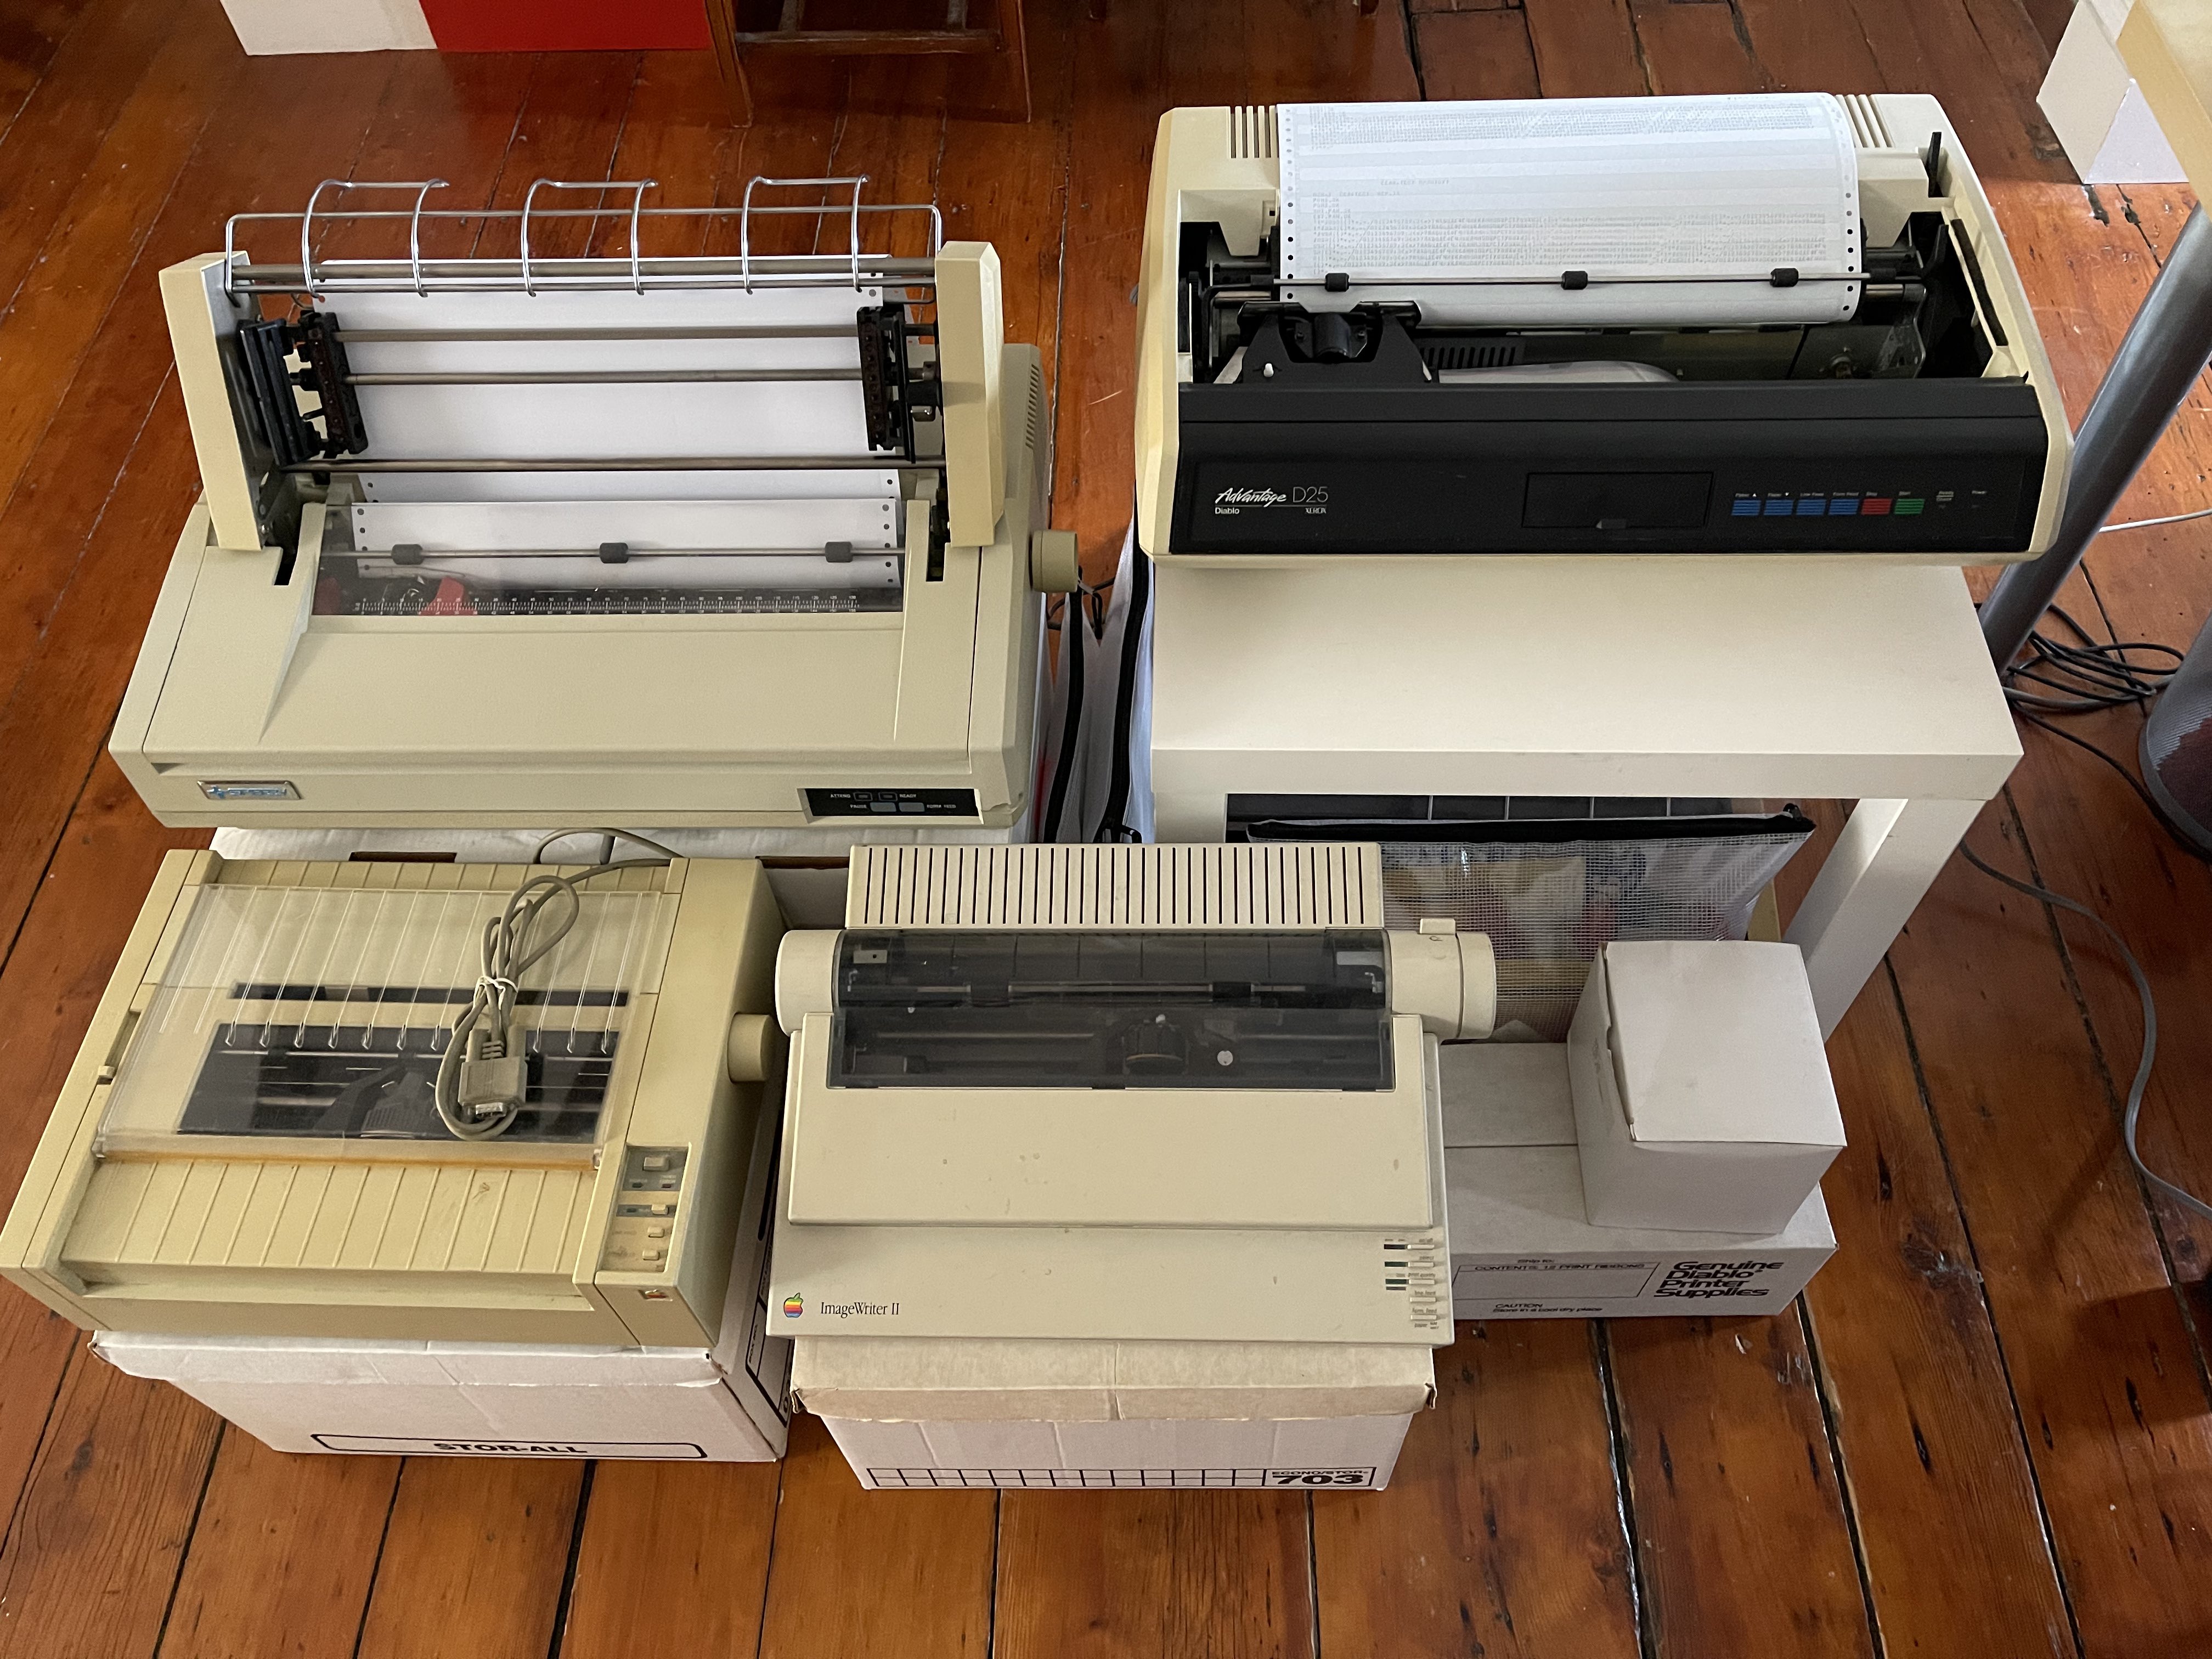
Below are the printers that I've tested and a few notes for each. Note that the collective noun for printers is a problem. You can see in the image here a small problem of printers. (Other collective nouns for printers are: a spool of printers; a jam of printers.)
Daisy wheel printers
Tandy DWP-220
February 2021
An inexpensive purchase, the DWP-220 seems to have been manufactured by Ricoh. The printer is slow and loud, but runs pretty effectively over a 4800 baud serial connection with an FTDI chipset USB adapter. The limited character buffer means that flow control is a must. I've been using CoolTerm to send text and files. Repeatedly using the "I" character in a composition caused it to distort on the plastic print wheel. Two replacement wheels broke immediately. The carbon film ribbons are difficult to find, but print clearly. Supplies are available for the incompatible DWP-210 and DWP-230 models. The printer was sent to a retrohardware refuge in May 2021.


Royal OfficeMaster 2000
February 2021
This is a parallel printer with Centronics interface. An FTDI-based parallel to USB adapter had it working on my MacBook running macOS 10.15 using the CUPS interface. The print carriage is smaller, just 360mm. Larger tractor feed wide-format paper cannot be fed through it. It was shipped in its original water-damaged and tearing cardboard box and didn't survive intact. I returned it to the seller, and after an escalation with eBay, got a full refund.


Qume Sprint 11/55
March 2021
This is a 55-character / second daisy wheel printer that is rebadged as a Sperry printer. The Sprint series seems to have been resold with a number of different computer manufacturer labels, including the Apple daisy wheel printer. It uses Diablo print wheels, and it took a little work to get it up and running. The Sprint series used an interchangeable interface module for RS-232, Centronics parallel (IEEE-1284), or GPIB parallel (IEE-488). This model has a parallel interface with a PC-style 25-pin connector. I couldn't get it to communicate with a Prolific-based parallel-to-USB adapter, but I did get it working with an old laptop running Windows 98, and finally with an FTDI-chipset usb to parallel adapter on a MacBook pro.
While the printer's self-test ran, it tended to skip some characters in its barber pole output. The print quality was initially poor, with some characters lighter than others. It could have been the ribbon not advancing properly, but the repeatability with some glyphs indicates there may have been something wrong with the hammer force. Then it ate a bunch of plastic wheels. It was headed for the repair shed, or possibly the scrap heap.
After time in the retroborkenwerk repair facility, I adjusted two set screws that limit the lever that launches the print hammer at the wheel. The hammer itself slides in a slot and is held back by a spring in an internal groove. By moving the rear set screw forward, I started getting letters to print. After some tests, I moved the forward set screw back to shorten the impulse driving the hammer. Together, these adjustments seem to tailor the timing and force of the hammer. That seemed to have curtailed the print wheel damage at a point where I was running out of petals! After more work, I also found that the plastic paper guide was not adjusted properly and was causing petals to bend against the bottom of the aperture and catch the sides of the guide. I adjusted this so that it presses against the platen and confirmed that it is well out of the way of the petals when they are pushed forward by the hammer. Then, I observed another failure: on long prints, the ribbon sometimes got hung up and the glyph didn't print. I currently only have the polymer "multistrike" ribbons.
Together with the Sperry, I picked up an AT&T rebadged Qume Sprint 11/55. That printer was filthy and the rubber timing belt (Chemi-Flex 514T83) that moves the print carriage had completely degraded into a sticky mess. The machine cleaned up and I tested it by transplanting the belt from the (semi-)working printer. It also ate print wheels, but otherwise ran through its tests. The elastomer washer that the hammer actuator rests on is tacky and deforms easily.
After a few weeks working with the Qume, it ended up running fine, and since 2021 it's been a reliable machine. During one printing session, I observed the ribbon cartridge rotating down. I'm not sure if this is caused by the drive gears or the rotating print wheel, but it appeared to be the source of the missing letters. I simply taped down the back of the cartridge to the carriage and have been printing without issues and without more wheels being broken. As one of the fastest daisy wheel printers at 55 cps, it's an impressive machine to watch rattle back and forth, especially when it can skip blank areas.
Later, I obtained tractor and cut sheet feeders for the Qume, the first of which is shown installed below.


Print wheels
Over time, I've acquired about 35 print wheels that are still in good condition. My favorite wheels are Courier 10 (10 characters per inch, giving full 132 column output) and the the Prestige Elite 12 ASCII 96, which can be used for code printouts (it has the tilde glyph, for instance). Other Prestige Elite 12 wheels are useful because they print 158 characters across. Coupled with 8 line per inch feed settings (denser than the standard 6 lpi), these wheels produce high-resolution (relatively speaking, of course) textmode images. My other favorite is the Diablo Russian Cubic-10 print wheel with a Cyrillic character set.
| Print wheel inventory | |
| 3 | CSA Prestige Elite 12 21290-010 |
| 1 | Diablo Russian Cubic-10 38149 |
| 8 | Qume #81267 Prestige Elite 12 ASCII 96 |
| 1 | Qume Prestige Elite 12 82052 WP |
| 1 | Qume Boldface PS 82190 WPS |
| 3 | Qume Courier 10 WP 82050 |
| 1 | Qume Orator 90% 10 82057 WP |
| 1 | Qume Script 12 WP 82181 |
| 1 | Qume Theme 11 PT PS 82069 WP |
| 1 | Vydec 97 Bookface Academic 10 0130-06 |
| 3 | Vydec 46 Cubic 1012 0127-08 |
| 1 | Vydec 76 Courier 10 0128-01 |
| 2 | Vydec 52 Madeleine PS 0132-16 |
| 6 | Vydec 44.Pica 10 0127-00 |
| 1 | Unknown Gothic 15 M2090 |
| 1 | Unknown Letter Gothic L 12 M2089 WP |

Ribbons
One of the drawbacks of the Qume is that I've only been able to source the polymer film ribbons. Prints lack the texture and variation that an inked ribbon creates. They are also increasingly difficult to find and are limited to one use, while fabric ribbons can be re-inked, albeit with sometimes varying results.


In early 2025, I finally found fabric ribbon cartridges for the Qume printer. These pop open easily to reveal the ribbon and internal mechanics. The ribbon is 5/16 inches wide and the loop is about 44 feet long. The long ribbon is spliced into a loop.


Qume documents
| File | Type | Size | Description |
|---|---|---|---|
| IBM_OSE.pdf | 30KB | IBM OSE Qume Sprint datasheet | |
| Qume_Sprint_Plus_Operator.pdf | 22MB | Qume Sprint Plus Operator December 1983 | |
| Qume_Connection_Centronics.pdf | 41MB | The Qume Connection Centronics Model 1 Interface | |
| Qume_Printwheels_Ribbons.pdf | 11MB | Qume Printwheels and Ribbons catalog |
Xerox Diablo Advantage D-25
March 2021
The Advantage is a slower and cheaper late entry to the daisy wheel printer market by Diablo (then a division of Xerox) just as laser printers were becoming popular. The printer has a Diablo API (All Purpose Interface) that services RS-232, IEEE-1284, and IEEE-488 on one Centronics 50-pin adapter. The test print is clear and supplies are readily available -- both ribbons and print wheels.
My original attempt to interface the 50 pin API interface failed because what I thought was a 50-pin Centronics adapter was actually a SCSI terminator. I had the machine apart and confirmed that the expected RS-232 pins are tied to MC1488 and MC1489 RS-232 drivers and receivers. While I'm waiting for parts to build an interface cable, I hacked open (literally, using a hacksaw) an old SCSI terminator and managed to connect to the serial lines of the printer. Here's what worked to build a serial interface:
  Centronics pin 24 (Tx)  connected to DB-25 pin 3 (Rx) - printer sending to computer*
  Centronics pin 25 (DTR) connected to DB-25 pin 5 and 8 (CTS and DCD)
  Centronics pin 23 (RTS) connected to Centronics pin 49 (DSR)
  Centronics pin 48 (Rx)  connected to DB-25 pin 2 (Tx) - printer receiving from computer
  Centronics pin 47 (GND) connected to DB-25 pin 7 (Signal GND)
Pins 23, 24, and 25 are output signals. These are connected internally to an MC1489 EIA driver on the printer's circuit board. Pins 47, 48, and 49 are input signals, and connected to an MC1488 receiver. A printer front panel switch is set to PTR RDY (not DC1/DC3). This uses the DTR / CTS control in CoolTerm. CoolTerm is set for 6ms delay between characters to help with flow control. The pin assignment document below indicates that RTS is pulled high. I measured +13V.
You can see from the assignments above that the printer is a little confused about whether it's a DCE or DTE device. From the receive and transmit perspective, the printer functions as a DCE (data circuit-terminating equipment) device. But "DTR" should be a signal sent from the DTE to the DCE. Instead, it functions like the "Clear to Send" (CTS) signal. Likewise RTS is held high internally by the printer, and DSR should be a DCE to DTE signal, but it is expecting input. Since the computer will always be ready, the line is held high by looping "RTS".
(*) If DC1/ DC3 are set, I do see it transmitting to the computer, especially when STOP / START is pressed. But it doesn't seem to do flow control very well, if at all. I was getting buffer overruns. When this happens, the READY light on the printer front panel starts to blink.
With the serial interface, the printer is running fine, with clear prints and no errors. It is slower than the Qume, but faster (and just a tad quieter) than the Tandy DWP-220. It came with a cut sheet feeder, which I'll try to get working.
Some months later, I finally built a parallel interface cable for the Diablo. It works with an FTDI-based parallel-to-USB adapter, although the machine is a little finicky. There is no way to disable an automatic line feed after 132 characters. But, this limit also seems to apply to unprintable characters, so I have to truncate 132 column output by one column. (There may be a software code to disable the automatic linefeed). I also have to insert carriage returns manually into files before printing. The nice thing about the Diablo, though, is that I have a stack of cloth ribbons. The printed type from these has more character than polymer film ribbons (variation and a steadily increasing lightness.) See the image below for an inside view of a cloth ribbon cartridge.


Diablo documents
| File | Type | Size | Description |
|---|---|---|---|
| Diablo_API_pin_asssign.pdf | 213KB | Diablo API pin assignments for Centronics 50-pin connector |
Dot matrix printers
Apple ImageWriter and ImageWriter II
September 2021
These are 7-pin dot matrix printers, and a common sight in many classrooms and computer labs in the late 1980s and early 90s. The sound of these and other dot matrix printers is distinctive and sure to elicit strong memories of Print Shop banners and printed school reports for those of us of a certain age. Both ImageWriters are serial devices, operating up to 9600 baud, and were given to me by the writer and computer historian Benj Edwards.
With the right serial cable in hand (a small benefit of compulsive light e-waste hoarding), the ImageWriter II fired right up and I was able to print from an Apple //c. I have no plans so far for these printers other than to relive the glory days of fan-fold code dumps, directory listings, and Print Shop banners, cards, and posters.


Printronix P300
April 2024
The Printronix P300 is a high-speed line matrix printer. Developed in the late 1970s, this particular machine was built in the early 80s. The printer uses a bank of 44 hammers to quickly generate a dot matrix output (scanning back and forth over three character widths at a time). It can nominally print 300 lines per minute and slew at a rate of eight inches per second. To provide a little context, my fastest printer is the Sprint 11/55 above. At 132 characters, it takes about 2.4 seconds to print a line. The Printronix is an order of magnitude faster at 0.2 seconds. Later Printronix models go as fast as 1000 lines per minute (similar to chain printers like the IBM 1403), but this machine feels like the right vintage for my work. It represents the first of its kind in line printer technology.
The printer assembly rests on a stand, which, conveniently, has wheels and stores the paper. The printer weights 185 lbs. and the stand is 90 lbs. That's almost 300 pounds of printing fun! It's also not as loud as you might think.


Left to right: The Printronix P300 line matrix printer. The printer case opened to reveal the print, paper transport, and ribbon transport mechanisms. The back panel swings down to reveal the printer electronics. The card cage assembly swivels out.
I picked up the Printronix from a retiring engineer in early April 2024, free for the taking. It had been stored in a climate controlled workshop and was in clean condition with minor cosmetic blemishes here and there -- really not at all bad for a forty year old machine. The soundproofing foam is the typical polyurethane that has started to lose its elasticity and crumble, but it remained largely intact. When we started it at his shop, the printer turned on and advanced paper properly. Its RS-232 optional communications interface worked and it printed. However, the ribbon assembly didn't advance. The left hand servo motor was pretty stiff. I wasn't sure if it is purely mechanical or if the servo motor control needed work.
We're going to go a little deeper on this one.
Hardware and installed options
The printer is a relatively modular and uncomplicated device, if not exactly compact. The top lid opens to expose the printer head (hammer assembly), the ribbon, and the paper transport mechanics. In the back, a door swings down (similar to the DECWriter II) to reveal the control electronics. Four circuit boards are connected by a PCB backplane in a card cage.


Above: Three of the four printed circuit boards in the card cage.
All of the processing is done by TTL logic -- an engineering design that is fitting for the late 1970s before the widespread adoption of microprocessors. This machine is equipped with a serial communications card that implements RS-232 using a General Instruments AY-3-1015D UART (a later version of the UART I used in my homebrew serial card for an Altair 8800c). The other three cards are labeled HAMMER DRIVER, LOGIC A, and LOGIC B. The first of these is basically an array of 44 transistors that drive the hammer solenoids. LOGIC A and LOGIC B implement some of the features of the printer, including those dealing with the character generators. This machine prints a full set of upper and lower case ASCII characters (decimal 32-127, with control codes below character 32). The characters are programmed into 1K bit TTL bipolar PROMs. It has room (in the form of additional PROM sockets) for additional character sets. Note to self: I have to dump the PROMS.
Ribbon transport repair
I disassembled the ribbon transport and left motor housing. The ribbon transport mechanics bolt onto the hammer driver. Underneath are the motors and circuit board. Each motor connects to its ribbon spool by a gearbox. For the left servo motor, the grease in the gearbox was gummy and some had solidified. Cleaning it up and lubricating with Nye oil got it moving again. This was all I had to do to get the printer running.


Above: Sunlight illuminating the open printer with the ribbon transport pulled forward and away from the hammer driver assembly.
The next two images show the left servo motor gearbox and the gummed up grease. The final photo is the working printer.
With a new old ribbon installed, the printer is now working, although I have an overflow issue to deal with. Here's a sample of the Printronix type:

Thinking about how fast a row is generated, the printer scans across three character widths (44 x 3 = 132) and then back, building up the characters across the page by row. At 10 characters / inch, the mechanics are translating a third of an inch (7.6 mm).
RS-232 interface
Several interfaces were available for the P300 when it was introduced. Mine has the RS-232 board installed, which is convenient. It has jumper-selectable options for the usual parameters (parity, etc.) and it supplies both EIA standard output as well as current loop (which is disabled, of course). Flow control is accomplished using the DTR line on pin 20. When I received the printer, it was set up for 9600 baud. However, without flow control, this will cause overruns of its 1K buffer. At 9600 baud, eight bit words with no parity, and one stop bit (8N1), there are ten bits per transferred byte, including the start bit. This gives 960 characters per second (cps). The maximum print rate of the printer is about 300 lines per minute (5 lines per second). At 132 characters per line, which is 660 cps. The printer is fast, but not quite fast enough to print at 9600 baud.
I could toggle down the baud rate to 4800, but the more elegant solution would be to use the flow control. Why wasn't it working? Were the buffer overflows occurring because the DTR pins weren't connected in the adapter I was using?
The RS-232 interface is a vexing thing. [1] In the Printronix case, it is set up as DTE (data terminal equipment), which means a null modem cable is necessary to connect to a computer interface (here, I'm using a USB-serial adapter). The P300 interface receives its serial data on pin 3 of the 25-pin connector and also "listens" on pin 6 (DTR) and pin 8 (CD). It signals out on pin 4 (RTS or RTR) and pin 20 (DTR). The latter two are hardware flow control lines. In a null modem configuration, pin 4 connects to pin 5, the Clear To Send (CTS) signal. In addition to hardware flow control, the printer can also operate by software flow control using DC1 and DC3 (CNTL-Q and CNTL-S). It transmits these from pin 2, again, consistent with DTE. When operating the printer, I could see characters coming back through to the terminal program I was using, but strangely, with the high bit set. Initially, I thought there was a hardware issue with the interface. Perhaps the interface board was set up to talk to DEC equipment? It ended up being a significant clue to what was going on and how to finally get the printer to work.
7N1
I used the schematics to understand the jumper settings on the RS-232 board. It turns out that the board is set up for 7N1 -- 7 data bits, no parity, one stop bit. So that high bit I was seeing was the stop bit and the errors that would stop the printer were probably framing errors. I had assumed it was set up for 8N1. With communications software now running at 7N1, 9600 baud, and software flow control, my laptop can see and respond to the XON / XOFF characters being sent from the printer as the buffer fills. I can print, without difficulty, reams and reams of paper.
Below are the schematics for the RS-232 board. On page one, toward the bottom, you can see that the UART is programmed for 7-bit operation. The pin NB1 and NB2 select 6, 7, or 8-bit words for the AY-3-1015D. (These are marked WLS1 and WLS2 on the schematic -- presumably, the labels stand for "number of bits" or "word length select".) NB1 is pulled down. If the jumper at F4 were installed, both NB1 and NB2 would be pulled high and the UART would run in 8-bit mode. The jumper is labeled "8 bit" on the board.
The other interesting area to note in the schematics, besides confirming the ACK/ NOACK characters, is on page four where several options for the RTS and DTR signals can be set up. Currently, RTS is set up to indicate BUSY and DTR is the opposite !BUSY. I should be able to run the printer in a hardware flow control using the RTS signal.


Printing tricks
The Printronix requires CR and LF characters at the end of each line, at least for sending files by a terminal program like CoolTerm. Add CR to each line with:
awk '{printf "%s\r\n", $0}' file.txt > print.txt
or use sed (here piping to lp, discussed below),
sed 's/$/\r/' file.txt | lp
However, I've also been able to print files without CR when using CUPS.
A true line printer
Can the Printronix P300 serve as a true line printer? To answer this question, I repurposed an old Raspberry Pi 2 Model B running a recent Raspberry Pi OS. I installed and configured CUPS (after setting up the Pi to use a Decwriter II as a console). Was it straightforward to do this? Not really. Getting CUPS to work required editing the CUPS configuration file /etc/cups/cupsd.conf to allow admin and admin/conf access and then adding my user to the lpadmin group. Eventually I had access to the CUPS admin panel on port 631.
The Printronix is connected by a USB serial (Prolific chip set originally, now an FTDI adapter) and a number of adapters that possibly constitute a NULL modem and a lot of size and gender changing going from the 9 pin USB adapter to the 25 pin printer port. I set up the Printronix in CUPS to 9600, 7N1, and software flow control (XON/XOFF). One of the challenges is how CUPS does page handling. I made some progress under Set Default Options to the media size (14 7/8 x 11 Continous) and Paginate Output to OFF. This is under the General banner. There are a host of other options under Options Installed that might be necessary to tweak. Ultimately, however, with these settings and using the raw output option
lp -o raw
(which may just circumvent any of the options) I was able to get consistent printing from the shell. Sweet!
It looks like I can even see it from other machines on my network,
$ lpstat -h server -p printronix
printer printronix is idle.  enabled since Fri Dec 20 08:29:14 2024
And, in fact, I can print to it from my laptop,
$ banner Victory! | lp -o raw -h server -d printronix
Better yet, I can finally read code the way it was meant to be, with pr!
$ pr CHEG231MD.py | lp -o raw -h server -d printronix
After I posted my victory to Mastodon, a helpful soul pointed out that I should use the raw queue settings in CUPS rather than the generic driver, making the -o raw option redundant (I think). [2]
(So far, that's worked fine. In fact, it works so well that I'm continue to be amazed that I can simply lp -d printronix print jobs on my software defined network and they spit out of the printer without a hassle.)


Here is a photo of the adapters between the printer and the (ahem...) server. The top left cable is presumably a straight-through 25 pin that comes from the printer. There is a null modem adapter, then a cable that goes from 25 to 9 pins that connects to the FTDI adapter.

Notes and references
- Paul Horowitz and Winfield Hill, The Art of Electronics, 2nd ed. (New York: Cambridge University Press, 1989).
- Instead, just set the queue to be
raw. In the CUPS Admin section under Manage Printers, select the queue. Then, under the right tab, selectModify Printer. Go through the settings until the printer driver appears, and selectrawfrom the menu. That should be it! Although you may need to manually insert CRs in addition to LFs from files.